
Tiny planet is a simple and fun way to make your landscape photos differ. All you need is preferably 360° panorama photo, if not than the photo width should be longer than the height at least two times. The super-wide shot gives you super good results.
Another thing to keep on mind is that the bottom of your photo will be distorted, so don't leave many details or objects in that area to get a smooth outcome. Also, try to keep the top part of your photo consistent detail and color-wise. The easiest way to go is to use a nice blue sky. Keep the horizon straight and photo edges should match with each other in some way or form. As you can see my image it gives good contrast and effect from the calm cloudy sky to a more dramatic stormy sky.
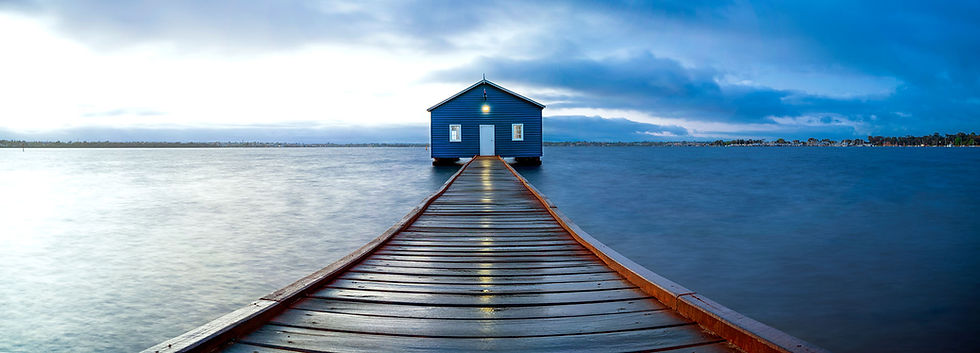
I'm using this photo for example. Not 360° one, still panorama and almost matches to a required description.
5 STEP-BY-STEP STEPS TO STEP UP YOUR PHOTOSHOP GAME
first, create an empty square canvas file in Photoshop (File - New...)
for Instagram ideal settings are 1080p to 1080p and resolution 72 pixels/inch

drag a photo from your folder or paste it on canvas
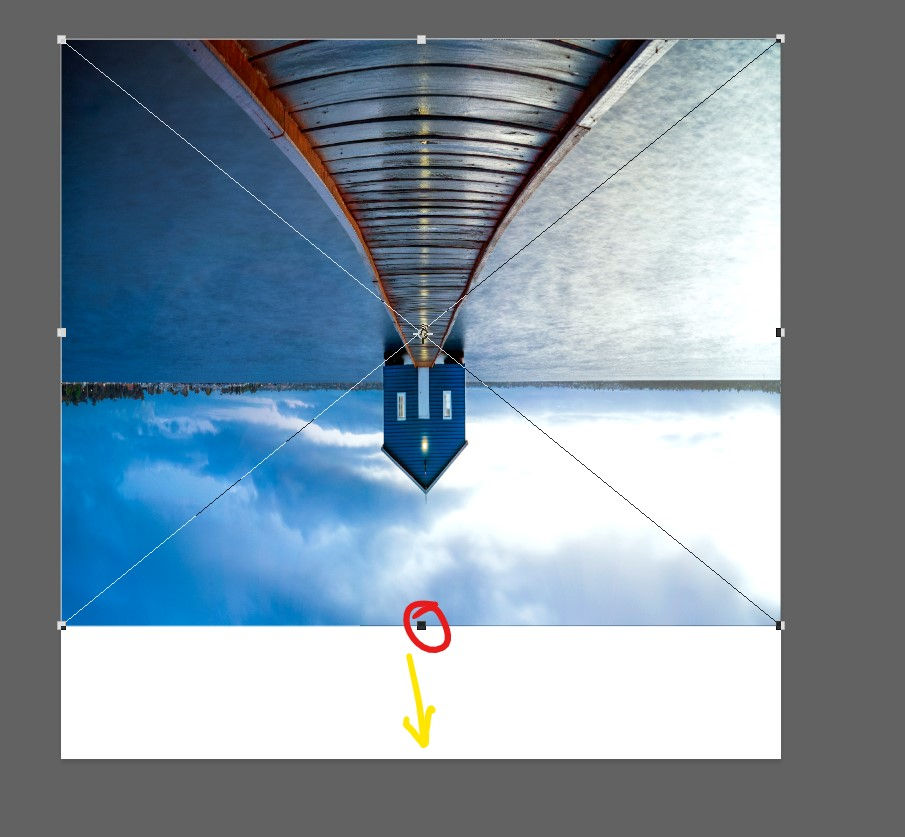
photo is automatically Transform mode and from (in yellow circle) set image rotation 180° and press enter twice

drag image to the top part of your canvas

press CTRL+T (Transform) and hold down the shift button while dragging center node (red circle) of the photo to the all the way to the bottom part of the canvas
if it's all the way down press ENTER
now click Filter - Distort - Polar Coordinates...
from Polar Coordinates window check if Rectangular to Polar is selected and press OK

And outcome should look something like that.

Well, I don't really like that building is pointing down like that, so I Image - Image Rotation... - 180° and I think it gave me a much better outcome.

CONCLUSION
It's a good way to play around in Photoshop and develop your skills. Seen the same kind of method used on a hip-hop album and game covers. I like to use it from time to time so see outcomes of my panoramas. You could get some really nice effects out of it to impress yourself or even your client. Just another tool on the belt.
Comments